The Wowza Gradle Plugin helps you build and manage Wowza Streaming Engine modules in a simple way. If you are building custom Wowza modules, this plugin can save you time and effort. This article walks you through everything you need to know to get started.
What Is the Wowza Gradle Plugin?
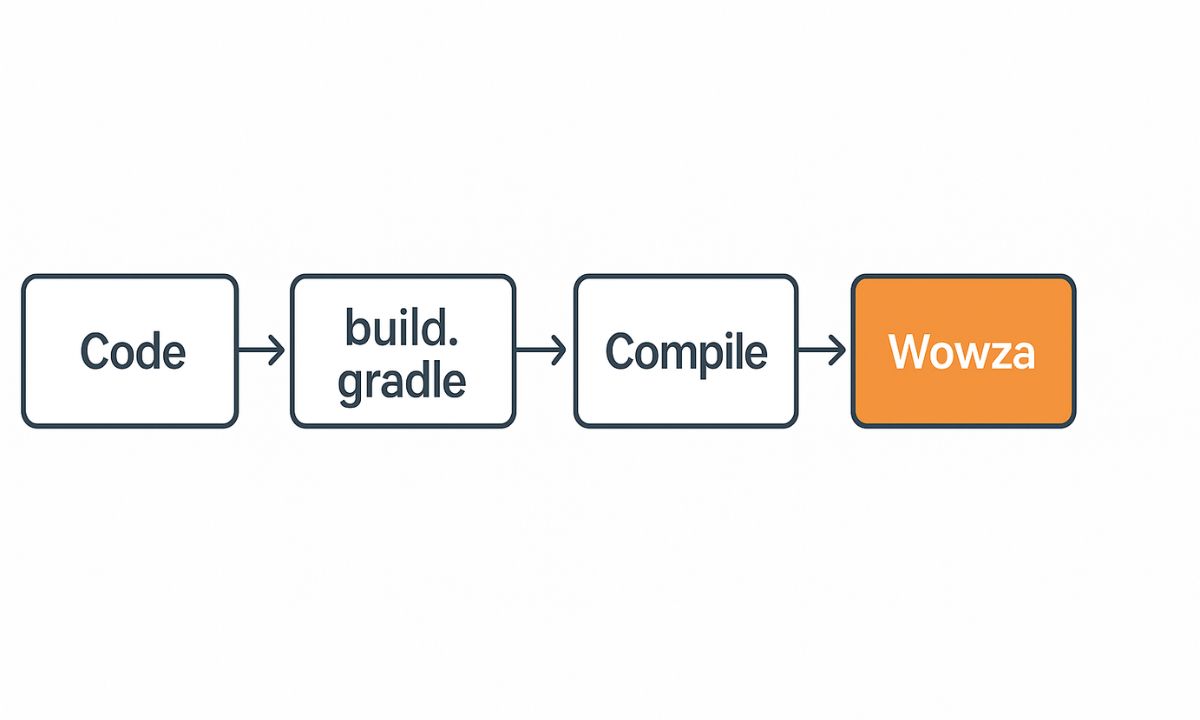
The Wowza Gradle plugin is a tool that works with Gradle. Gradle is a build tool for Java projects. It helps manage tasks like compiling code, handling dependencies, and packaging files.
When you use the Wowza plugin, Gradle knows how to build your Wowza module the right way. You don’t need to set up everything by hand.
Why Use the Plugin?
Without the plugin, you must create build files yourself. You also have to manage your classpaths and packaging manually. This can lead to mistakes.
The plugin takes care of these parts for you. It sets up the build process so your module works with Wowza right away.
It also helps you:
- Package your code as a
.jarfile - Add required Wowza libraries
- Test your module easily
- Run common tasks using simple commands
Requirements Before You Begin
Before you start, make sure you have the following tools:
- Java Development Kit (JDK) – version 8 or higher
- Gradle – version 6 or higher
- Wowza Streaming Engine – installed and running
- IDE (like IntelliJ IDEA or Eclipse) – optional, but helpful
You also need basic knowledge of Java programming.
Step 1: Create a New Java Project
To begin, create a folder for your new Wowza module project. Open a terminal and type:
mkdir MyWowzaModule
cd MyWowzaModule
Then create a basic Gradle project:
gradle init --type java-library
This command creates the base project with folders and files. You now have a working Java setup.
Step 2: Apply the Wowza Gradle Plugin
Next, you need to apply the Wowza plugin to your project.
In your build.gradle file, add this to the top:
plugins {
    id 'com.wowza.gradle.plugin' version '1.0.6'
}
This line tells Gradle to use the Wowza plugin. Make sure you are connected to the internet so Gradle can fetch it.
If your Gradle version is older or this doesn’t work, try using the buildscript block:
buildscript {
    repositories {
        mavenCentral()
    }
    dependencies {
        classpath 'com.wowza.gradle:plugin:1.0.6'
    }
}

apply plugin: 'com.wowza.gradle.plugin'
Step 3: Configure Your Project
The plugin needs to know a few things about your module.
Still in your build.gradle file, add the Wowza settings:
wowza {
    moduleName = "MyWowzaModule"
    wowzaVersion = "4.8.20"
}
Replace the version with the one you’re using. The module name is what Wowza will show in its logs.
Step 4: Add Wowza Libraries
The plugin can pull in needed Wowza libraries. Add this to your repositories block:
repositories {
    mavenCentral()
    maven {
        url 'https://repository.wowza.com/nexus/content/repositories/releases/'
    }
}
Now tell Gradle to include the Wowza SDK:
dependencies {
    implementation 'com.wowza:wowza-sdk:4.8.20'
}
Again, match the version to your own Wowza installation. This step gives your module access to Wowza’s core classes.
Step 5: Write Your Wowza Module
Go to src/main/java. You should see a sample Java class. You can remove or rename it.
Create your own module like this:
package com.mycompany.wowza;

import com.wowza.wms.module.*;

public class MyModule extends ModuleBase {
    @Override
    public void onAppStart(IApplicationInstance appInstance) {
        getLogger().info("MyModule started.");
    }
}
This basic module logs a message when your Wowza app starts. You can build on this with more features later.
Step 6: Build Your Module
In your terminal, run:
gradle build
Gradle will compile your code, pull the Wowza SDK, and package everything into a .jar file.
Your final .jar will be in the build/libs folder.
Step 7: Install Your Module in Wowza
To test your module, you need to place it in Wowza’s library folder.
- Copy the
.jarfile to:
WowzaStreamingEngine/lib - Edit the application’s configuration:
Go toconf/[your-application]/Application.xml - Under
<Modules>, add:
<Module>
    <Name>MyWowzaModule</Name>
    <Description>My custom Wowza module</Description>
    <Class>com.mycompany.wowza.MyModule</Class>
</Module>
- Restart your Wowza application.
Check the logs. If everything is set up right, you’ll see your log message.
Step 8: Test and Improve
Testing your module is key. You can use Wowza’s test players, RTMP clients, or external tools.
Add more features step by step. Use the Wowza developer docs to explore options.
You can:
- Listen for stream events
- Control playback behavior
- Add authentication checks
- Handle custom API calls
As your module grows, Gradle will help keep things clean and easy to manage.
Common Gradle Tasks You’ll Use
Here are some useful commands when using the Wowza Gradle plugin:
gradle clean– Removes old build filesgradle build– Compiles and packages the modulegradle jar– Creates just the jar filegradle dependencies– Lists used librariesgradle tasks– Lists available tasks
These commands make building and updating modules simple.
Tips for Working with the Plugin
- Use version control like Git for your module
- Keep your
build.gradleclean and organized - Test each change in Wowza before adding more
- Document your code so others can understand it
- Check the Wowza plugin’s GitHub page for updates
The more familiar you become with Gradle, the more power you get from using this plugin.
Conclusion
The Wowza Gradle plugin makes module development much easier. You don’t need to worry about setup details. The plugin takes care of the hard parts so you can focus on writing your code.
With this guide, you now know how to:
- Set up a new Gradle project
- Apply the Wowza plugin
- Write and test a basic Wowza module
- Build and install the module in Wowza
As you build more complex features, the plugin will help you stay organized and efficient.
If you plan to work with Wowza Streaming Engine often, learning this plugin is a smart move.